
Well it’s been a long time……. Essentially all of my modelling gear was in storage moving from Australia back to NZ in December 2019, then whilst we were in temporary accommodation looking for work and a place to live in NZ. Then of course Covid interfered, which dragged out the process of house hunting for another three months. And after finally getting settled in August 2020, I managed to fracture a heel bone. This meant unpacking stuff and organising the new digs became a tedious affair to say the least. Finally, around Christmas I was able to gingerly place the offended heel on the floor for more than a few seconds and managed to retrieve all of my modelling stuff. All first world problems really, but did cause a serious lapse in this project. So, a small update.
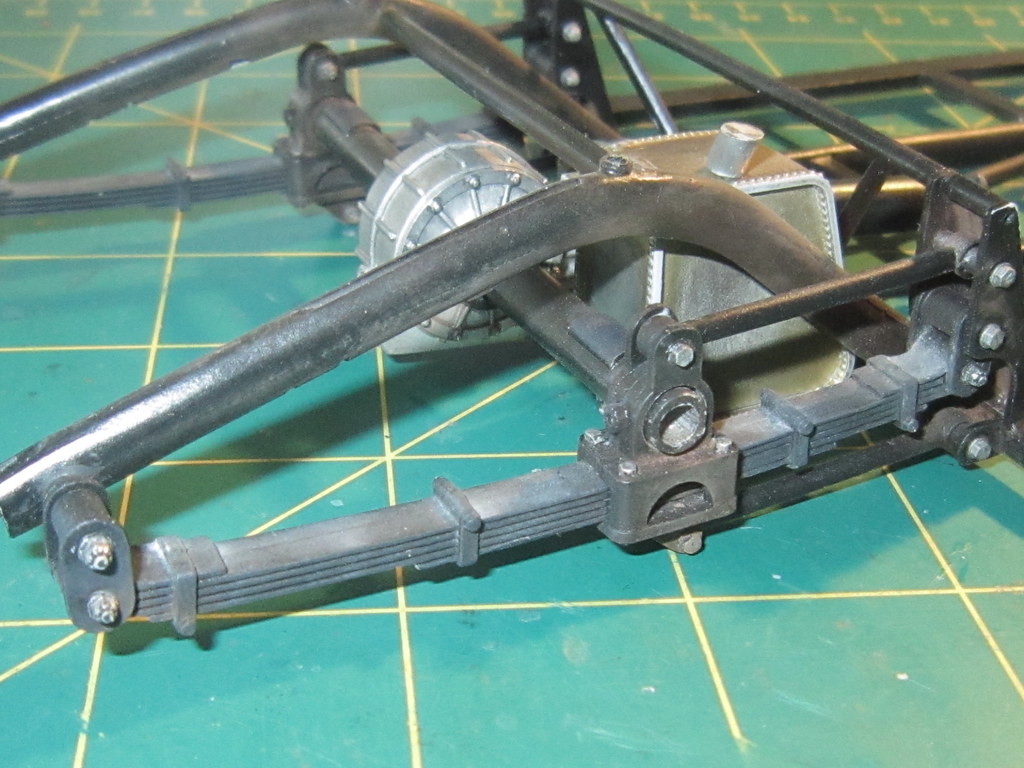
First up, I mounted the rear leaf springs onto the chassis. The front has to wait until I have a 0000 Phillips head screw driver arrive – I have down to 000 size but the tiny screws demand something even finer.
Next up was a start on the Borrani wire wheels. The spare wheel is a relatively simple affair built from all white metal parts. The spokes are grouped in layers which are glued to the hub parts and sections of the rim. It took around 1 1/2 hours to build. It looks OK from a distance, but is rather coarse in its detail, although will eventually live in the car boot away from direct view most of the time.
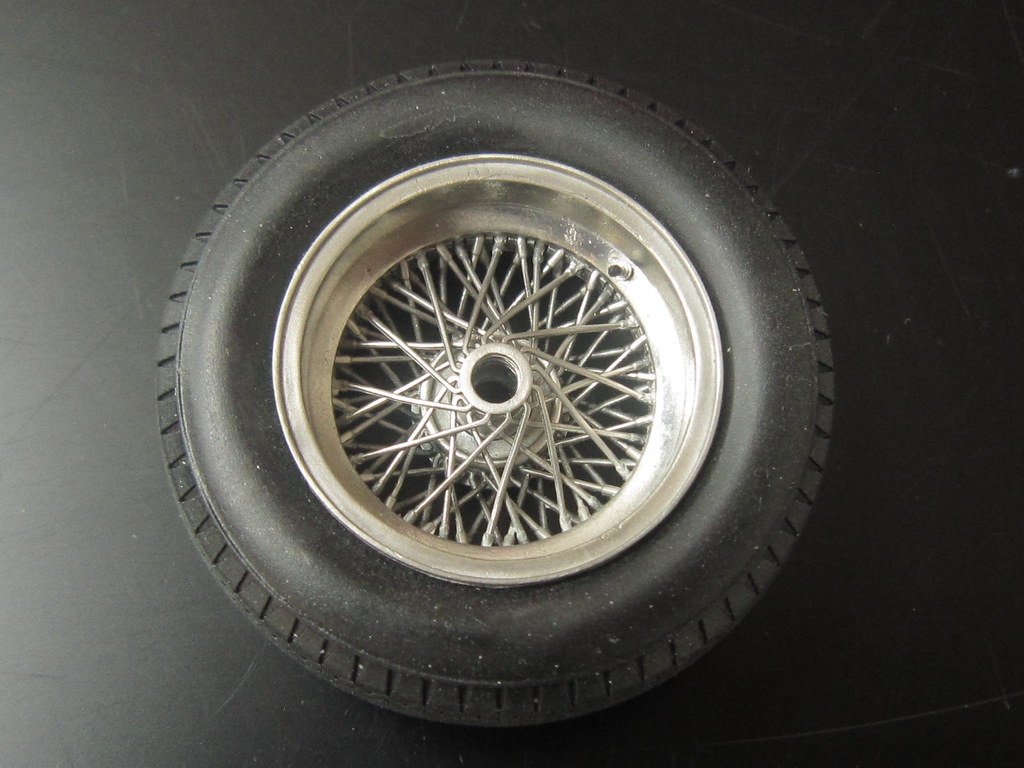
Each of the other wheels is made from a beautifully turned and pre-drilled aluminium rim and a four piece hub. These are assembled after screwing the hub and rim into a supplied jig and then linking the rim and hub with 72 stainless steel spokes. Each spoke must be bent to fit into the holes in the hub and a separate ferrule is added to each spoke. The spokes are then trimmed to fit. The first wheel took around six hours to finish, and I won’t be doing any of the others in one sitting. My eyes could barely focus on completion. I’m sure the holes started dancing around…….
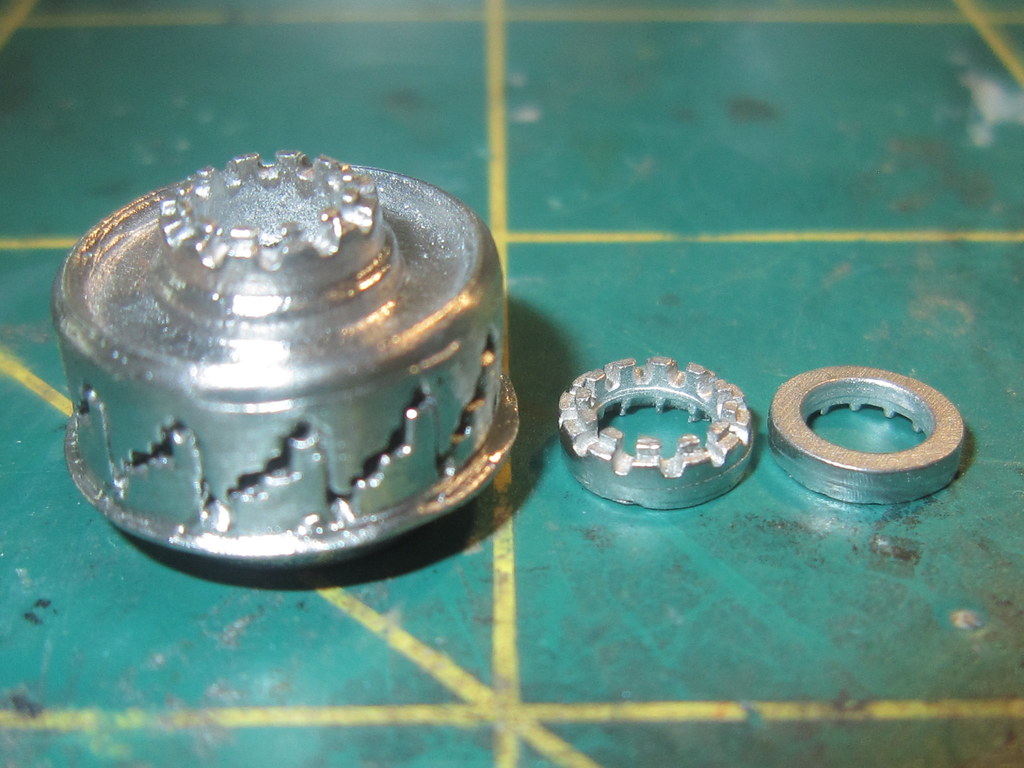
I did discover that the key step is preparing the hub as the holes become increasingly difficult to determine as the build progresses, and they all need to be perfectly clean to accept the individual spokes. I did try soldering the parts together, but found gluing to provide an easier to deal with result.
First the hub parts –
I used a slab of aluminium to build the wheels on. I drilled appropriate holes in the slab to insert the spokes into and then bent the ends to the right angle, as determined on the supplied etched templates. Very easy in the end.
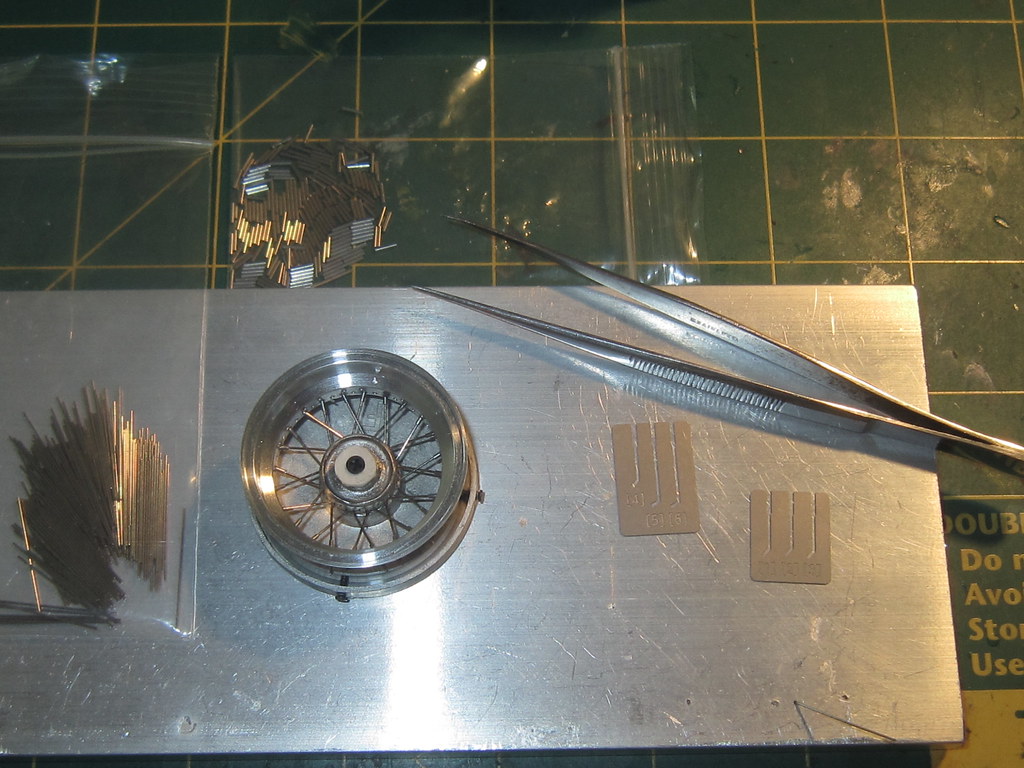
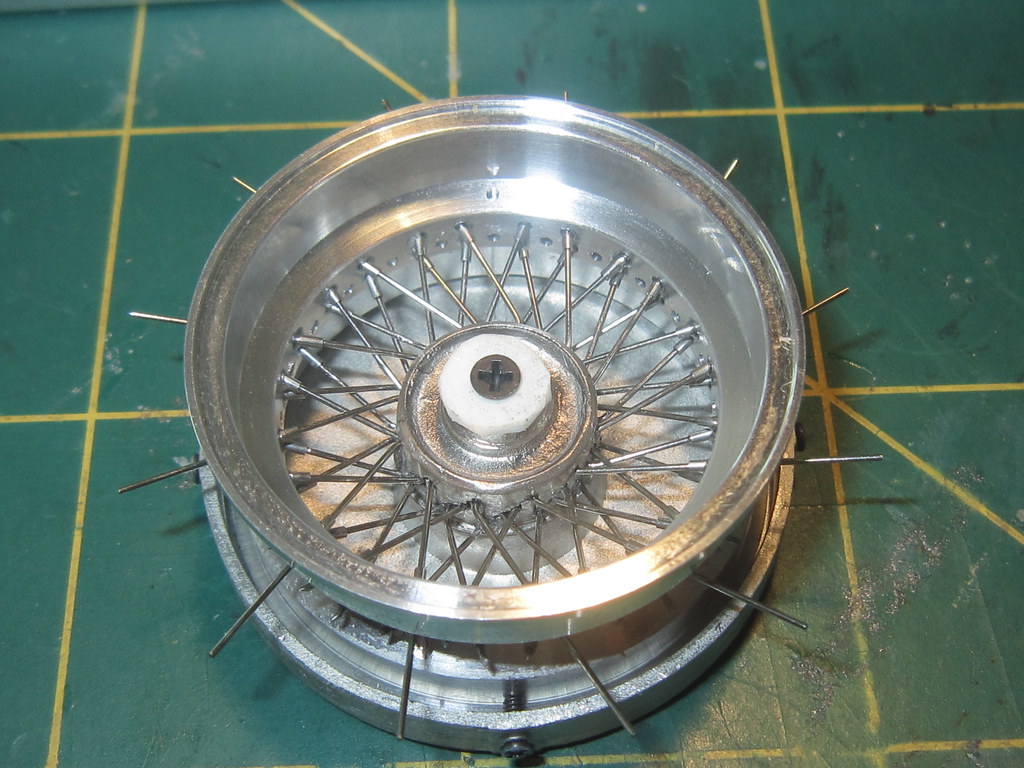
A wheel partly through being built, with the ends of the spokes for the layer being built yet to be trimmed. The spokes were fixed into place with gel superglue, although once they are all finished, I will use a layer of epoxy on the outside of the rims where the spokes protrude through to reduce the chance of any coming loose.
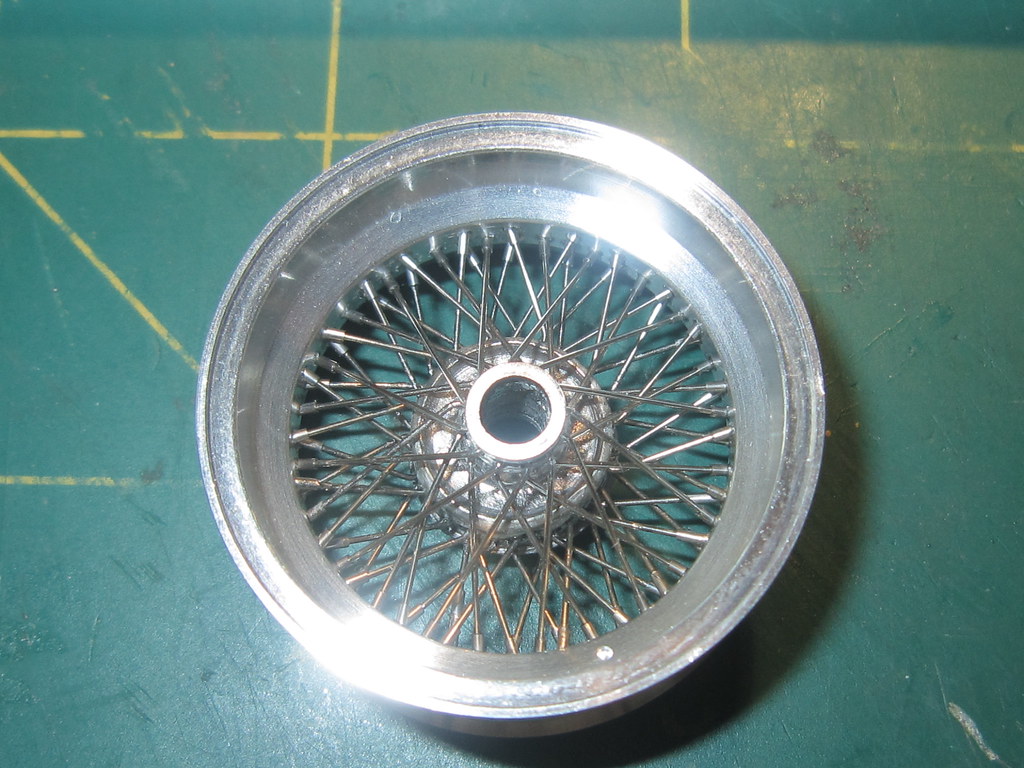
The complete wheel, although the valve and any balance weights have yet to be fitted. There really is no comparison with the spare, and certainly worth the effort.
The front wheels are done. Now onto the rear ones. They will test the eyes a bit more as the rims are about a third wider, which means the hub is buried deeper and just a little more difficult to see when inserting the spokes.
Hopefully progress will be a tad more timely from here on in.
Cheers,
Mike
Edited by MikeA Getting photo links sorted